Overrides Tool
This tool lets you create and manage the overrides directly from the back-end of VikAppointments. Refer to the Page Overrides article in case you don't know what an override is.
The overrides management is located in 2 different sections, depending on the license of your VikAppointments. You can find this tool under Configuration > Applications > Customizer.
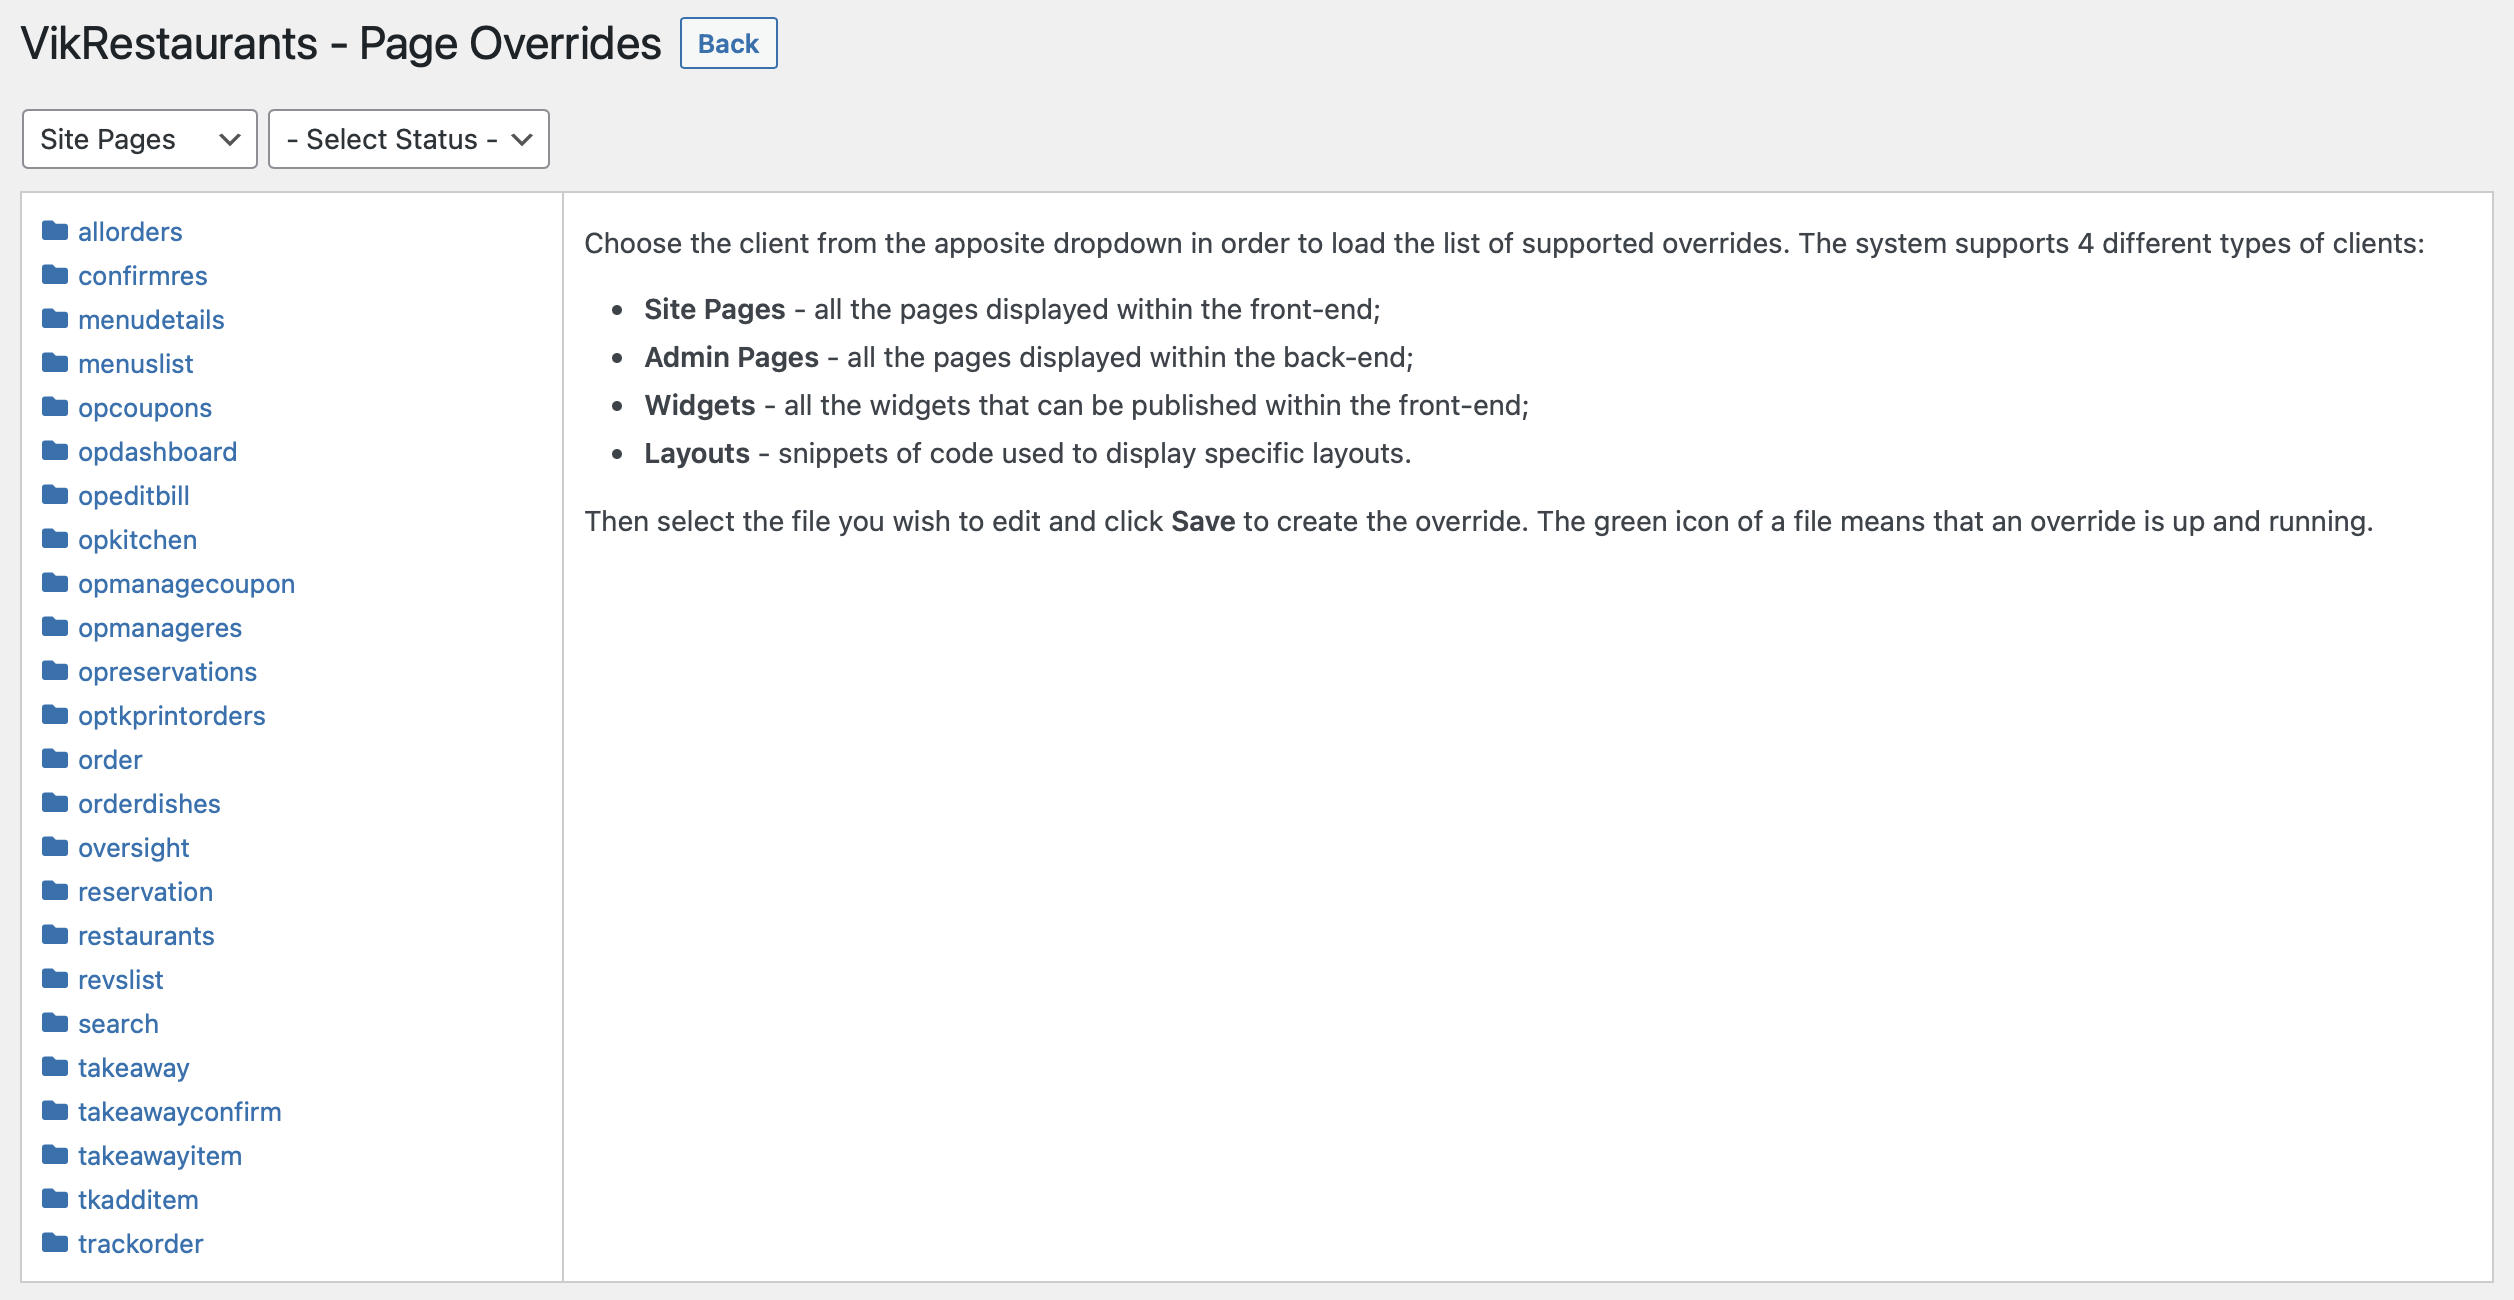
Here you should find a tab called Page Overrides, containing a short description and a button to access the management area. After clicking that button, you should see a page like the following one.

The top side of the page reports the title and the buttons to save the changes and close the page. The Save button will appear only after selecting the file to override. Under the title is located a dropdown containing all the 4 sections for which it is possible to create an override: Site Pages, Admin Pages, Widgets and Layouts; and a dropdown to filter the overrides by status (active or inactive). The remaining part of the page is composed by a navigation tree, to scan all the directories and files, and the editing section.
The first thing you need to do is choosing the correct client (or section) for which you need to create an override. By default the system always loads the overrides for the front-end pages. At this point, pick the file you want to override from the navigation tree. Now the page should look a bit different.

At first sight you'll see that the Save button and a code editor are now visible. Lets explain how the editing section is built. Within the top side of the editor you'll see a button to perform some actions, the resulting path of the override file and a button to copy that path. The remaining part contains a CodeMirror instance, the editor that gives you the possibility to write code.
TIP: you can use CMD+S or CTRL+S shortcuts, on Mac OS and Windows respectively, to save the changes without having to click the button.
After saving the changes, you should see a successful message and the icon next to the file should become green.

What does the cog icon stand for?
You can click the icon to open a context menu, which offers you the possibility to performe some actions. Here's a list of supported actions:
- Show files tree - toggles the visibility of the navigation tree. You can hide it while coding, in order to have a wider space for your editor.
- Show differences - toggles the visibility of the differences among the created override and the original file.
- Hide original file - hides the editor containing the code of the original file.
- Show both in columns - displays the editor containing the code of the original file next to the override editor.
- Show one over the other - displays the editor containing the code of the original file below the override editor.
- Activate - reactivates an override that has been deactivated. Doesn't display in case of missing override.
- Deactivate - deactivates an existing override. This will resume the original code without losing the changes. The system may automatically deactivate an override after an update, in order to prevent any possible breaking changes. Deactivated overrides will display the file icon with a red color.
- Delete - permanently removes the override file.
