Il tuo carrello è vuoto!
Shortcode con Gutenberg
Don't you know how to publish a shortcode with the Gutenberg editor? Don't worry, here's a list of steps to follow in order to understand how to handle the shortcodes with Gutenberg.
Before all, it is needed to already have some available shortcodes for being published in the front-end. If you haven't, it is suggested to read "How to see the Plugin in the front-site" first.
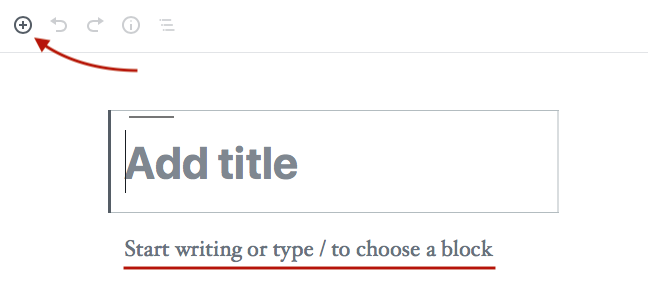
Once the shortcodes are ready to be published, it is needed to create a new Page (or a new Post if you prefer) where Gutenberg editor is available. At this point, we need to focus the placeholder that mentions the "Start writing or type / to choose a block" text to start creating a new block.
Alternatively, it is possible to directly click the "plus" button from the Gutenberg toolbar.
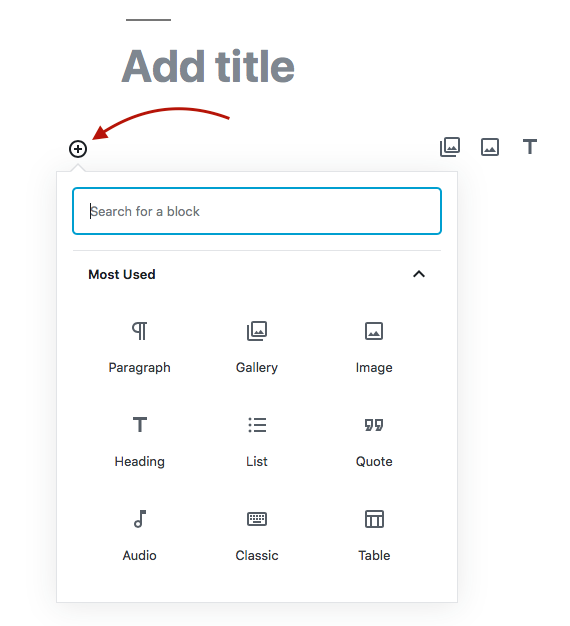
When a block owns the focus, a "plus" button should be displayed on the left-side. By clicking it, Gutenberg will let you choose a preset block between a set of items.
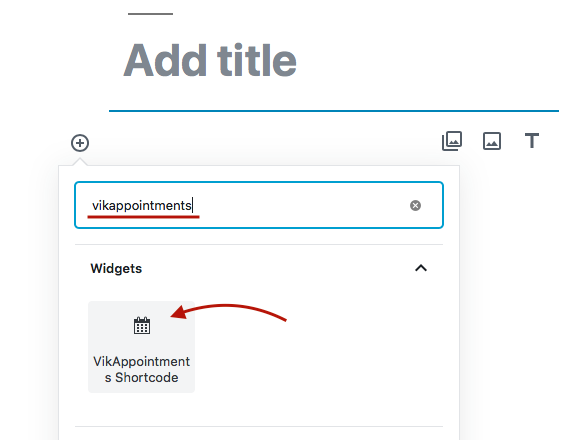
Once the popup has been opened, it is needed to type the "vikappointments" word within the text bar to search for the VikAppointments Shortcode block. Otherwise, the same block can be found under the Widgets category.
Then, just click that element in order to add a new VikAppointments Shortcode block within Gutenberg editor.
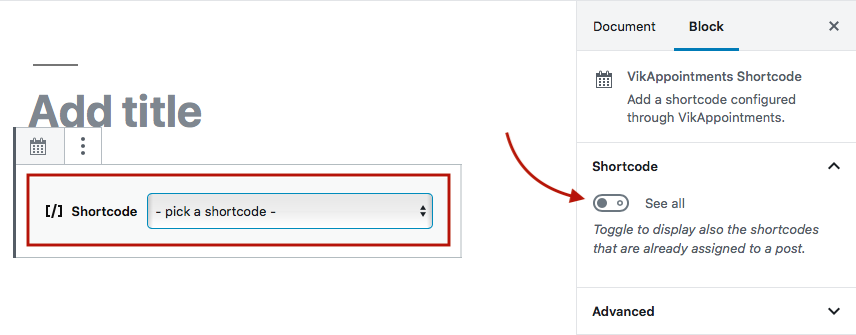
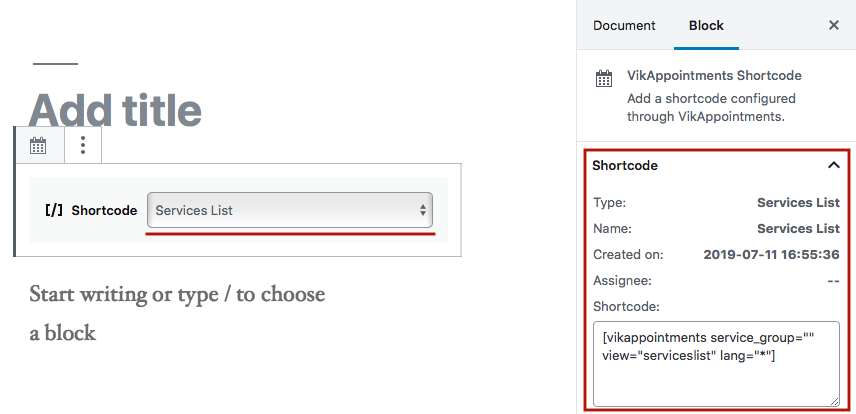
The editor will now display a block with a dropdown containing a list of available shortcodes. Here you have to pick the shortcode that should be assigned to this page/post.
The dropdown WILL NOT show the shortcodes that have been already assigned to a different page/post. In order to show all the existing shortcodes, it is needed to toggle the "See All" parameter from the inspector on the right-side.
After picking a shortcode from the list, you will be able to see a few details from the inspector, such as:
- Type - the shortcode type.
- Name - the shortcode name.
- Created on - when the shortcode was created.
- Assignee - the page/post ID to which the shortcode is assigned, if any.
- Shortcode - the string that will be used to display the shortcode.
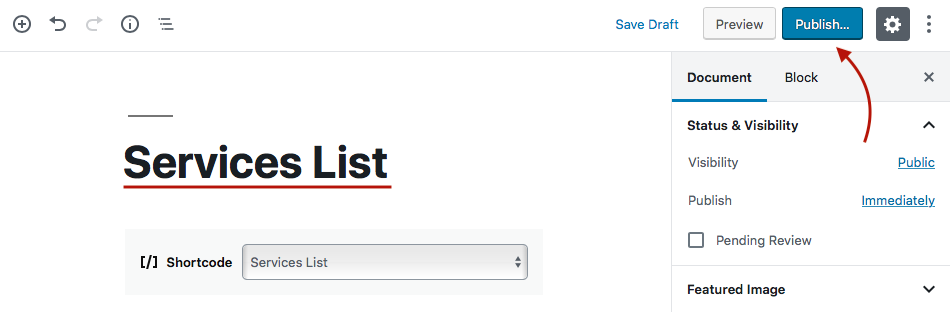
We can complete the process by typing a descriptive title for the page, which then has to be published through the apposite button.
The page/post is now available for being added within the site main menu. This process can be seen within the article suggested at the beginning of this guide.
Ultimo aggiornamento: 2019-07-24
Utile?