Your cart is empty!
How to download and install a Payment Plugin
This article will show you how to download, install and activate a payment plugin into your WordPress website. Please notice that the payment plugins can only be used with the PRO version of our Vik Plugins.
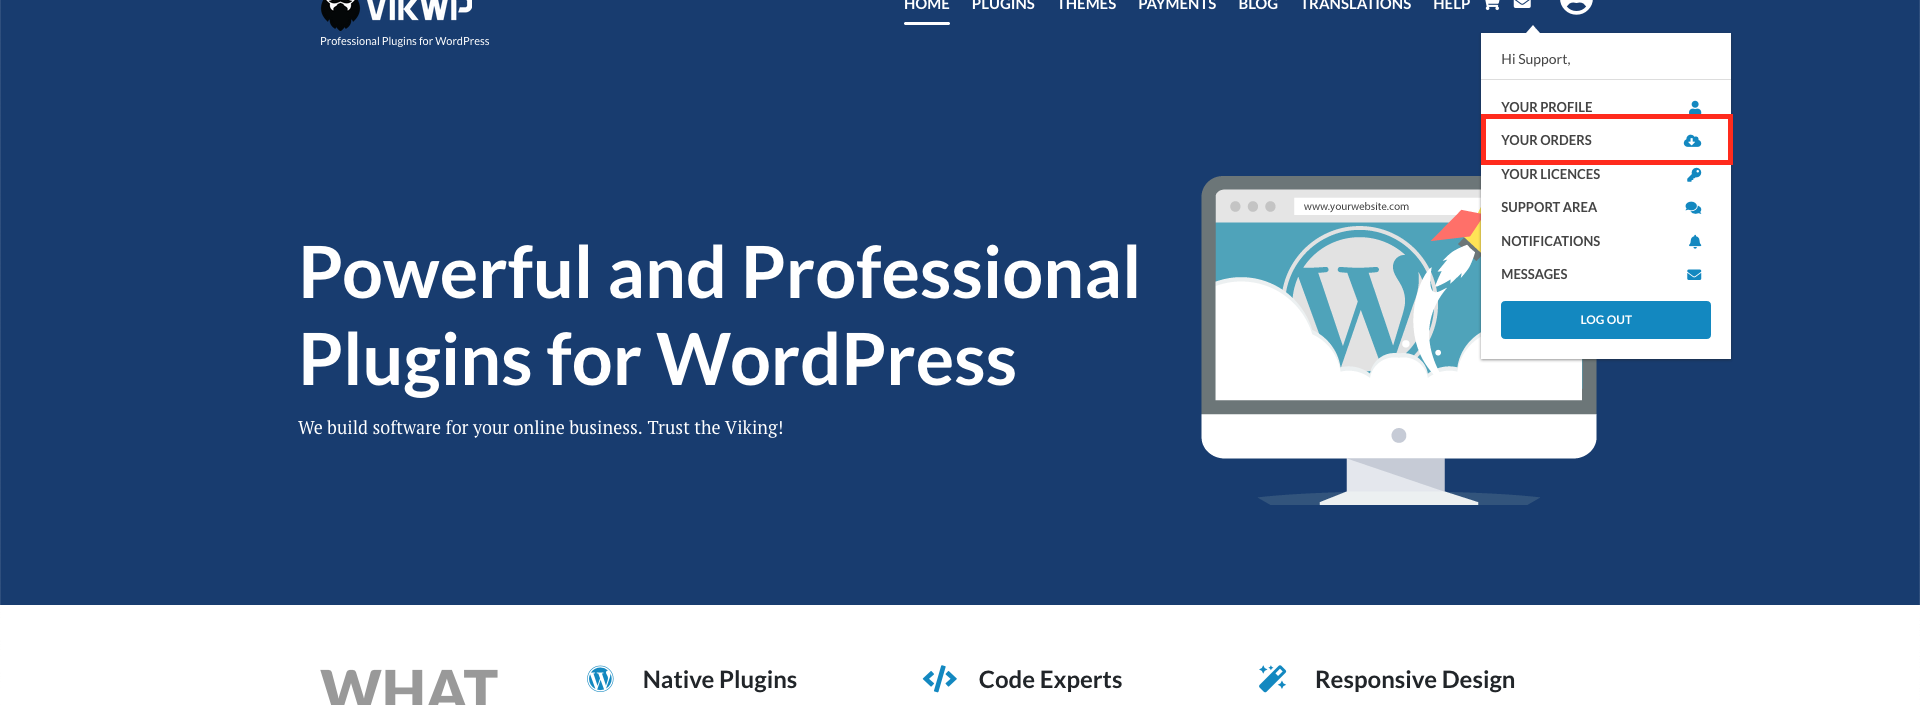
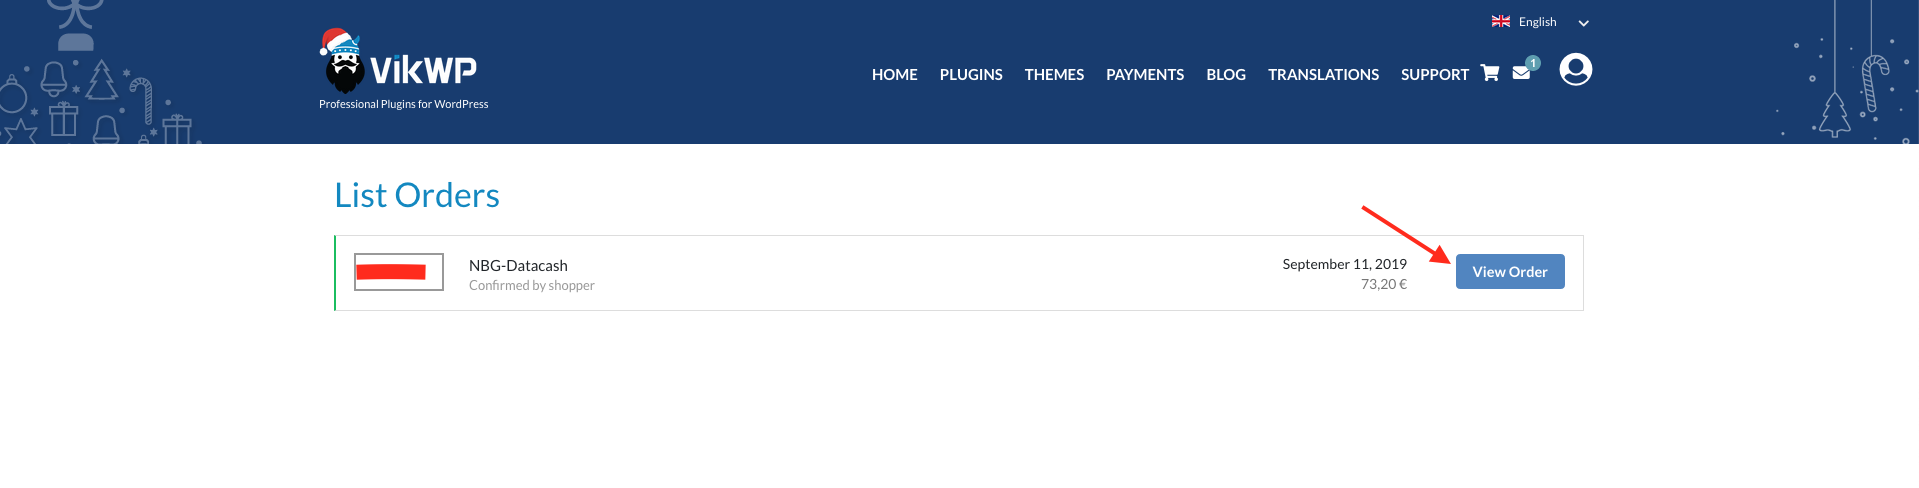
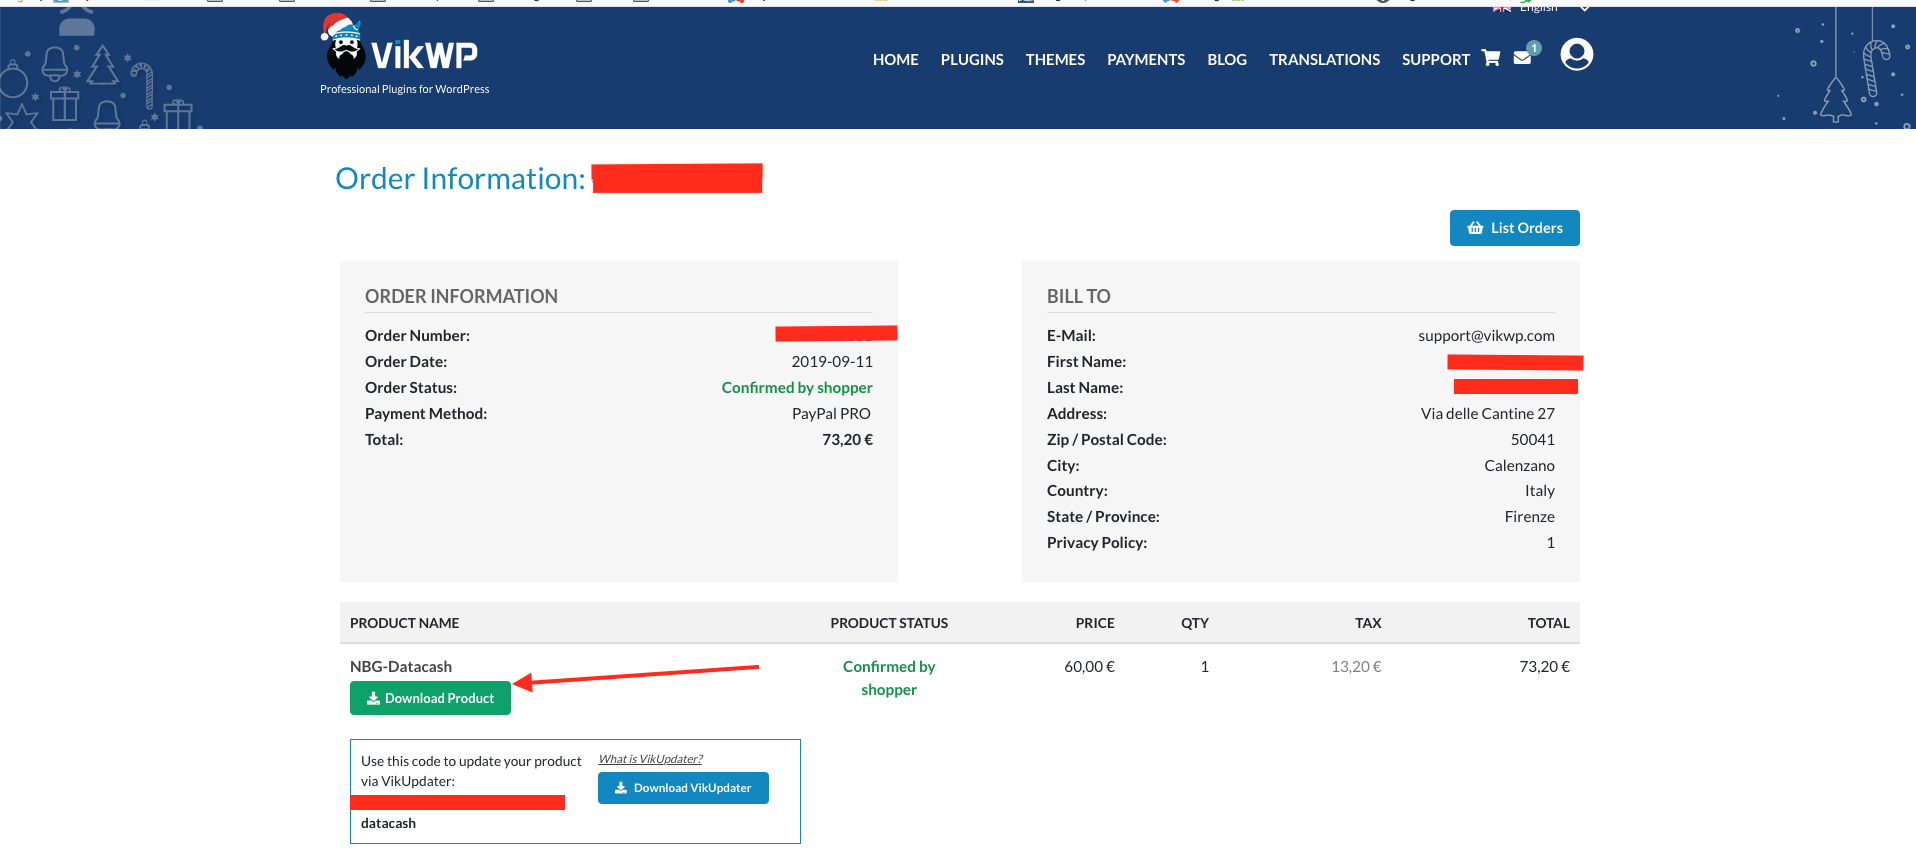
Step 1: Enter the "Order Details" page from your account and download the plugin.
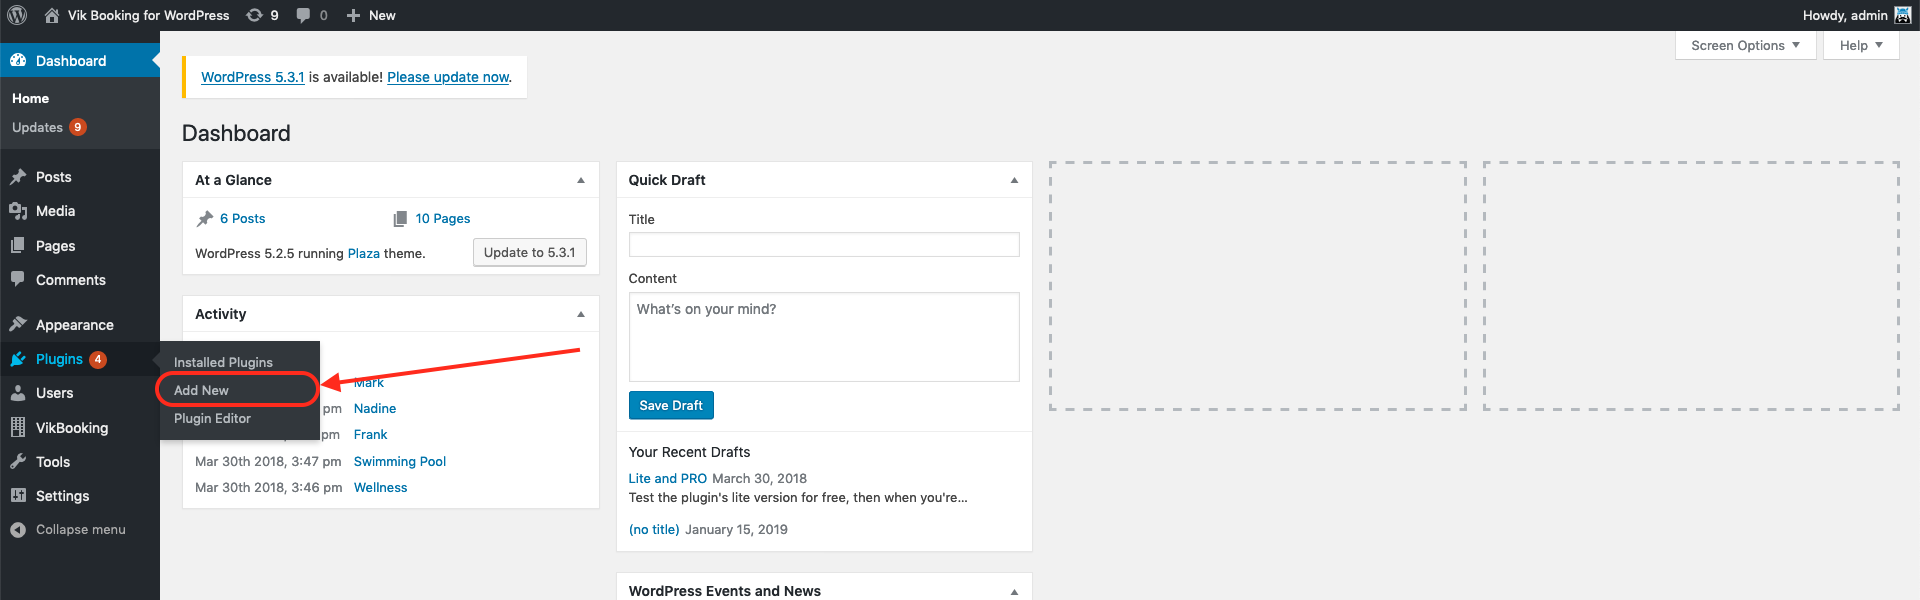
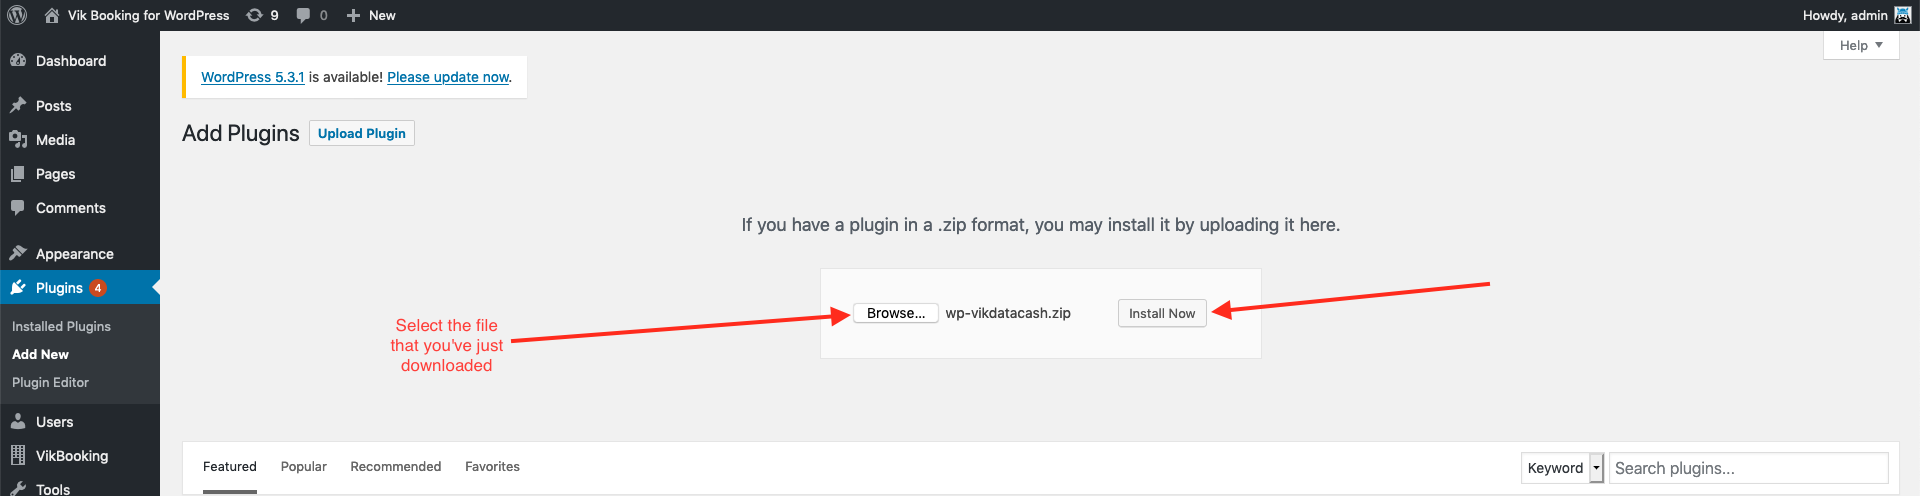
Step 2: Enter the administrator side of your WordPress website and open the page "Plugins -> Add New". Once opened this page, you'll be asked to upload a zip file: you should select the file that you've just downloaded from this website, and once selected please click on "Install Now".

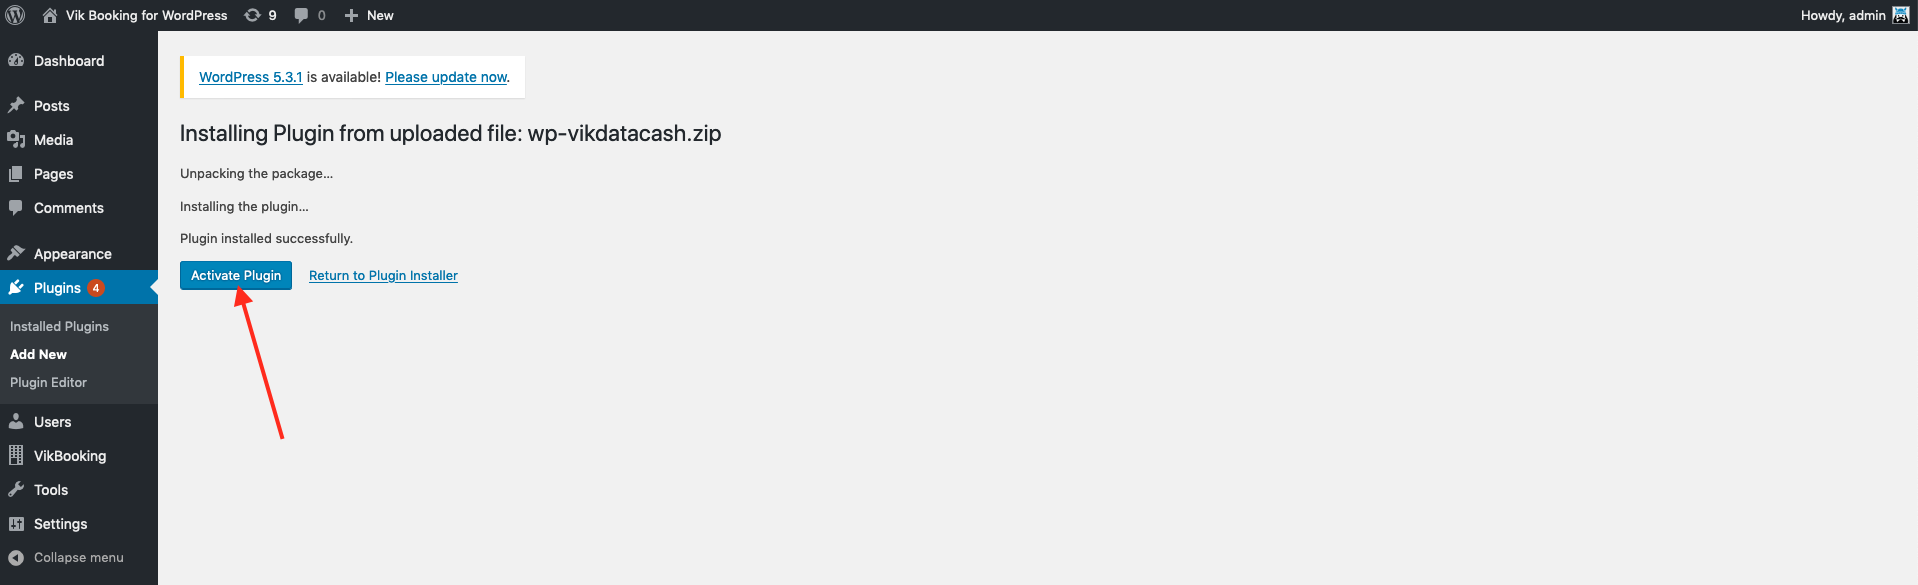
Step 3: once installed, WordPress will ask you if you want to activate the plugin. Click on the button "Activate Plugin".
If you enter now the plugins list, you will see that now the payment plugin has been installed and it's ready to be configured.
To configure the payment plugin, you should now enter the page "Global -> Payment Methods" inside the Vik Plugin you've installed.
Then you should click on "New", and you should select the class with the name of the payment method purchased.
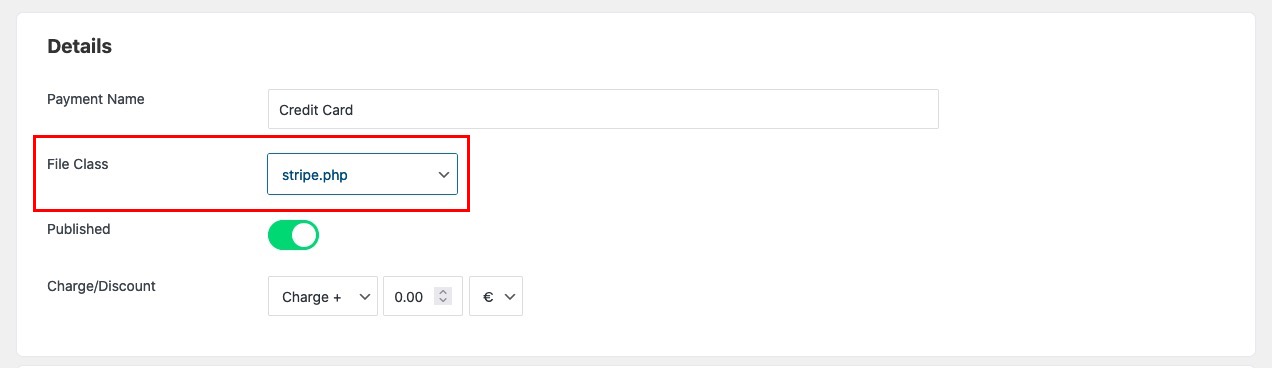
Once selected the class, you'll be asked to insert some details of your merchant details of the bank, that are required to make the payment plugin to work.
That's all! Enjoy your new payment plugin!
Last Update: 2021-07-06
Helpful?
41% of people found this helpful.