Your cart is empty!
First Setup after Installation
Once VikRentCar has been installed on your WordPress back-end, you should start creating some contents and configure the extension properly.
Here is a list of steps to follow for having cars bookable in the front-end:
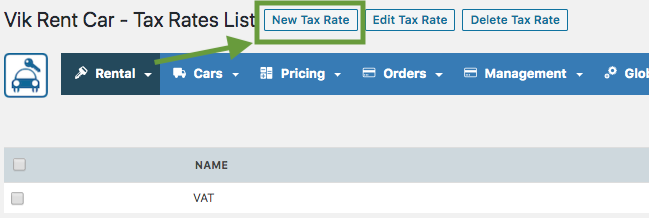
- Create one Tax Rate. It is always suggested to use Tax Rates, no matter if you would like to show the prices inclusive of taxes or not.
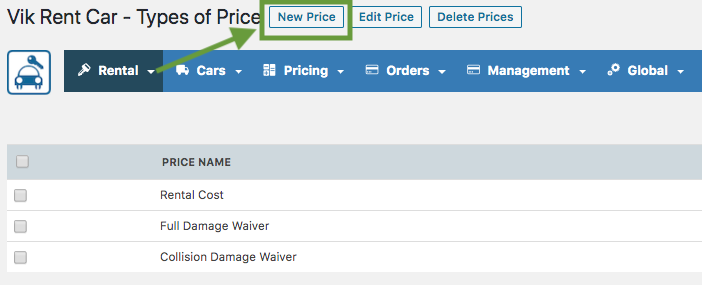
- Create one Type of Price. The Types of Price are Rate Plans. The system requires to have at least one active Type of Price so that you will be able to load the Rates Inventory. An example of Type of Price is "Base Rate", "Full Damage Waiver", "Collision damage Waiver" etc... It is not required to use any Attributes for the price so leave the field empty if not sure.
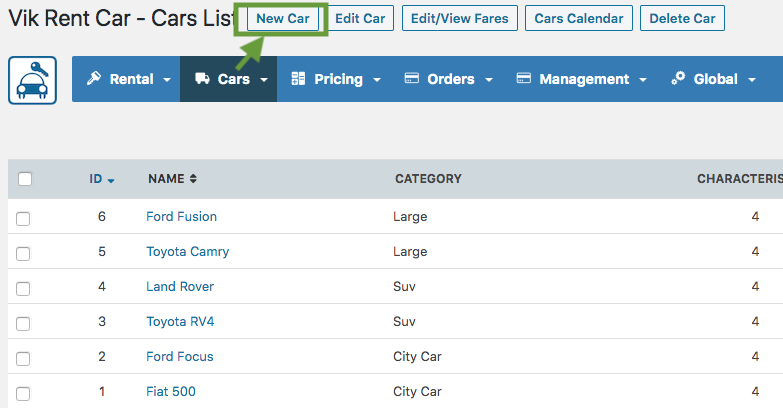
- Create one Car. Set a number of units available as full inventory. This will determine the number of times the car will be bookable on the same dates.
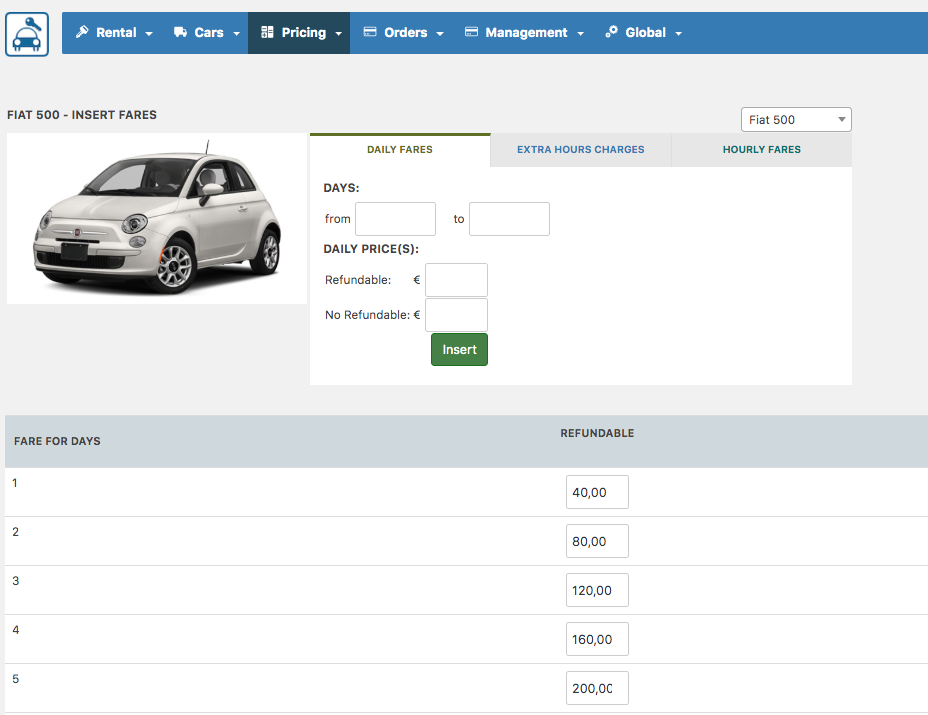
- Enter the costs per day of rental from the page Rates Table. You will be able to set the exact cost for any number of nights and for any Type of Price. For example, the "Full Damage Waiver" can be set to EUR 30 per day, while the "Collision Damage Waiver" could be set to EUR 25 per day. It is important to enter the costs for each number of day allowed for rental. In fact, if the cost for 10 days of rental for that car is not defined, it will not be possible to rent this car for 10 days.
- Add a new Shortcode from the shortcode button in the Administrator Dashboard. Then you will need to create a new Page, and add that page to a menu. You will need to insert the newly generated Shortcode to the Page to display it. You can find a more detailed guide here.
Give the Configuration page a check to see that the default settings are good for you.
Last Update: 2020-01-24
Helpful?
60% of people found this helpful.